Showing posts with label drummer. Show all posts

Tuesday, 13 January 2015

THE DRUM

The drum is an instrument that gives character to a music band. Well played it is not even noticed, hidden amongst the more elaborated sounds produced by violins, clarinets, .... Bad played, it is impossible not to notice it.

When I started to think about an origami model I though about a big drum with big drumsticks and a strong dwarf to hold it. Looking for origami drums on the Internet I found some things but they where almost always models with straight lines: hexagons, octagons. I wanted to make a realistic drum: a cylinder. It was a challenge because folding straight lines is relatively simple, with curves it is more difficult but with perfect circles it seems really complex.  

Taking a look at Joisel's own model did not really help me. Here is his model in the Zaragoza Exhibition in 2013:


Joisel's model is completely circular, what I wanted to fold. Unfortunately I did not find anything even suggesting how to make it.

Thinking about the problem, one day I came up with a simple solution that resolves both the cylinder problem and the colour change problem. In my model I have not folded the outer edge of the drum as in Joisel's model but it is not difficult to do it.  

This is my drum's CP:

The central stripe makes the body of the drum (one colour) and the 4 circles the two bases of the cylinder. There are two circles on each side to make the colour change (the outside one is folded over the inside one). The oblique lines allow the body to fold around the circular bases. The more oblique lines there are, the more perfectly circular the bases will be.

Let us see the folding process:
Here you can see the coloured side. I only painted the centre as it is the only part that is visible in the final model.
Both sides are folded until they touch the edge of the body
The body is folded around the circles
Inside of the drum


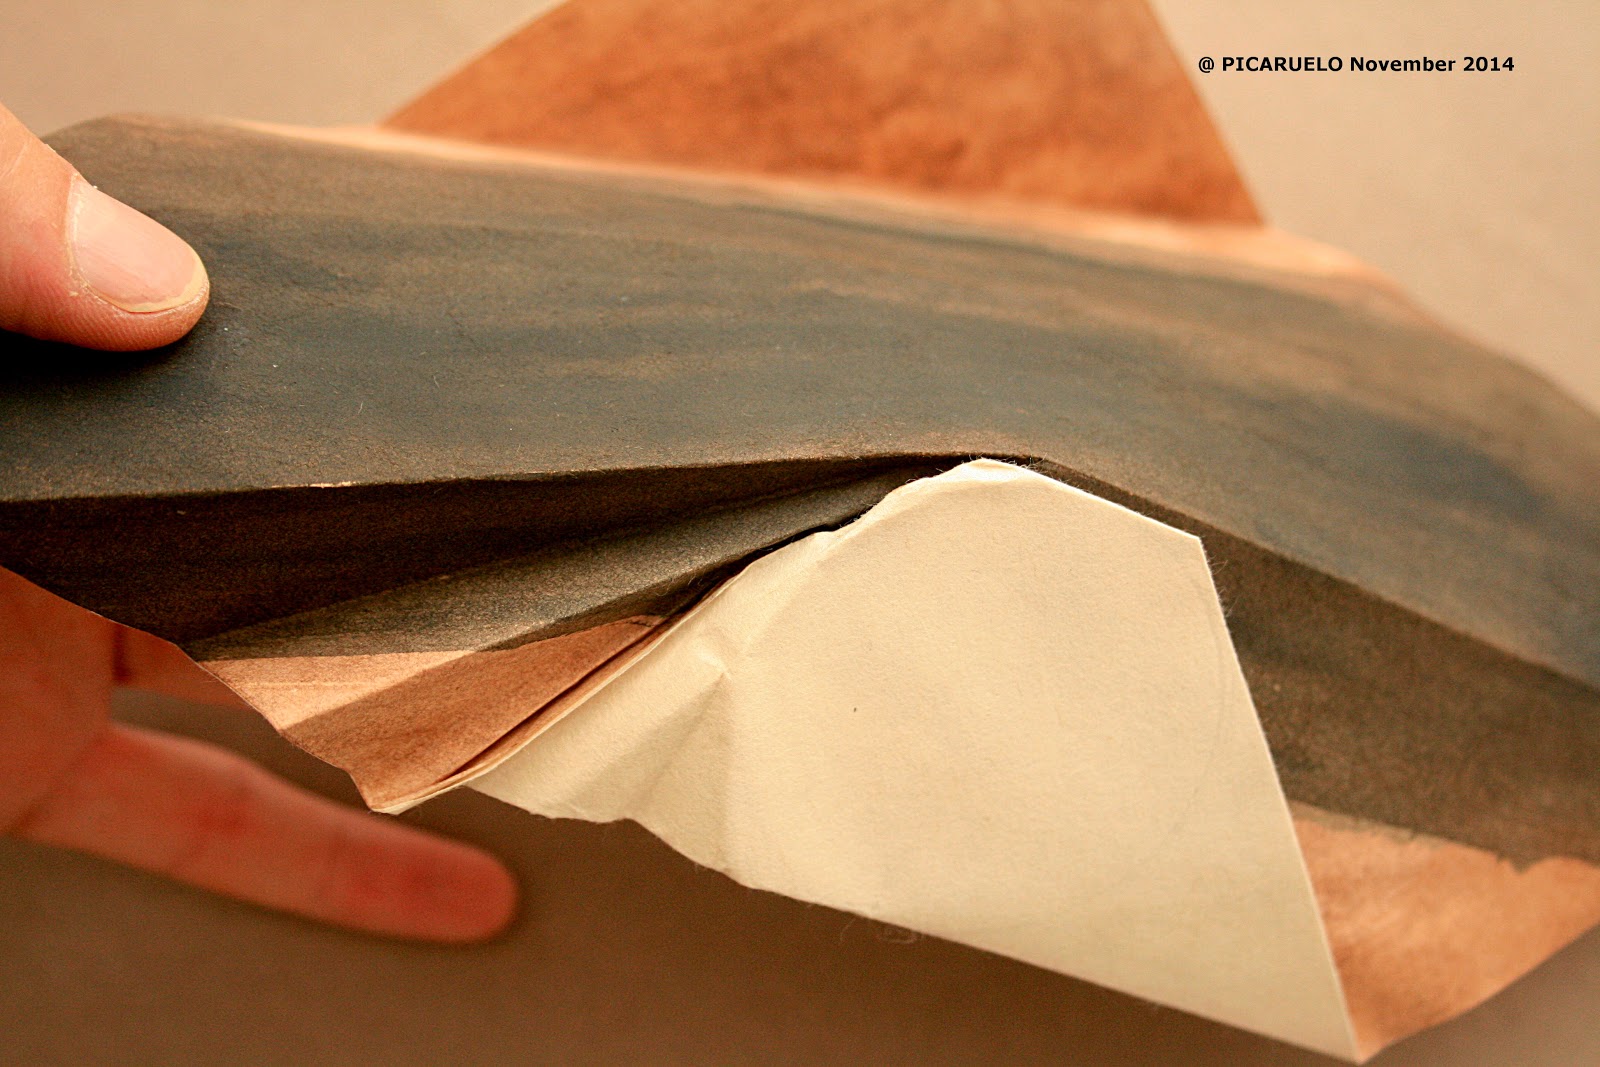
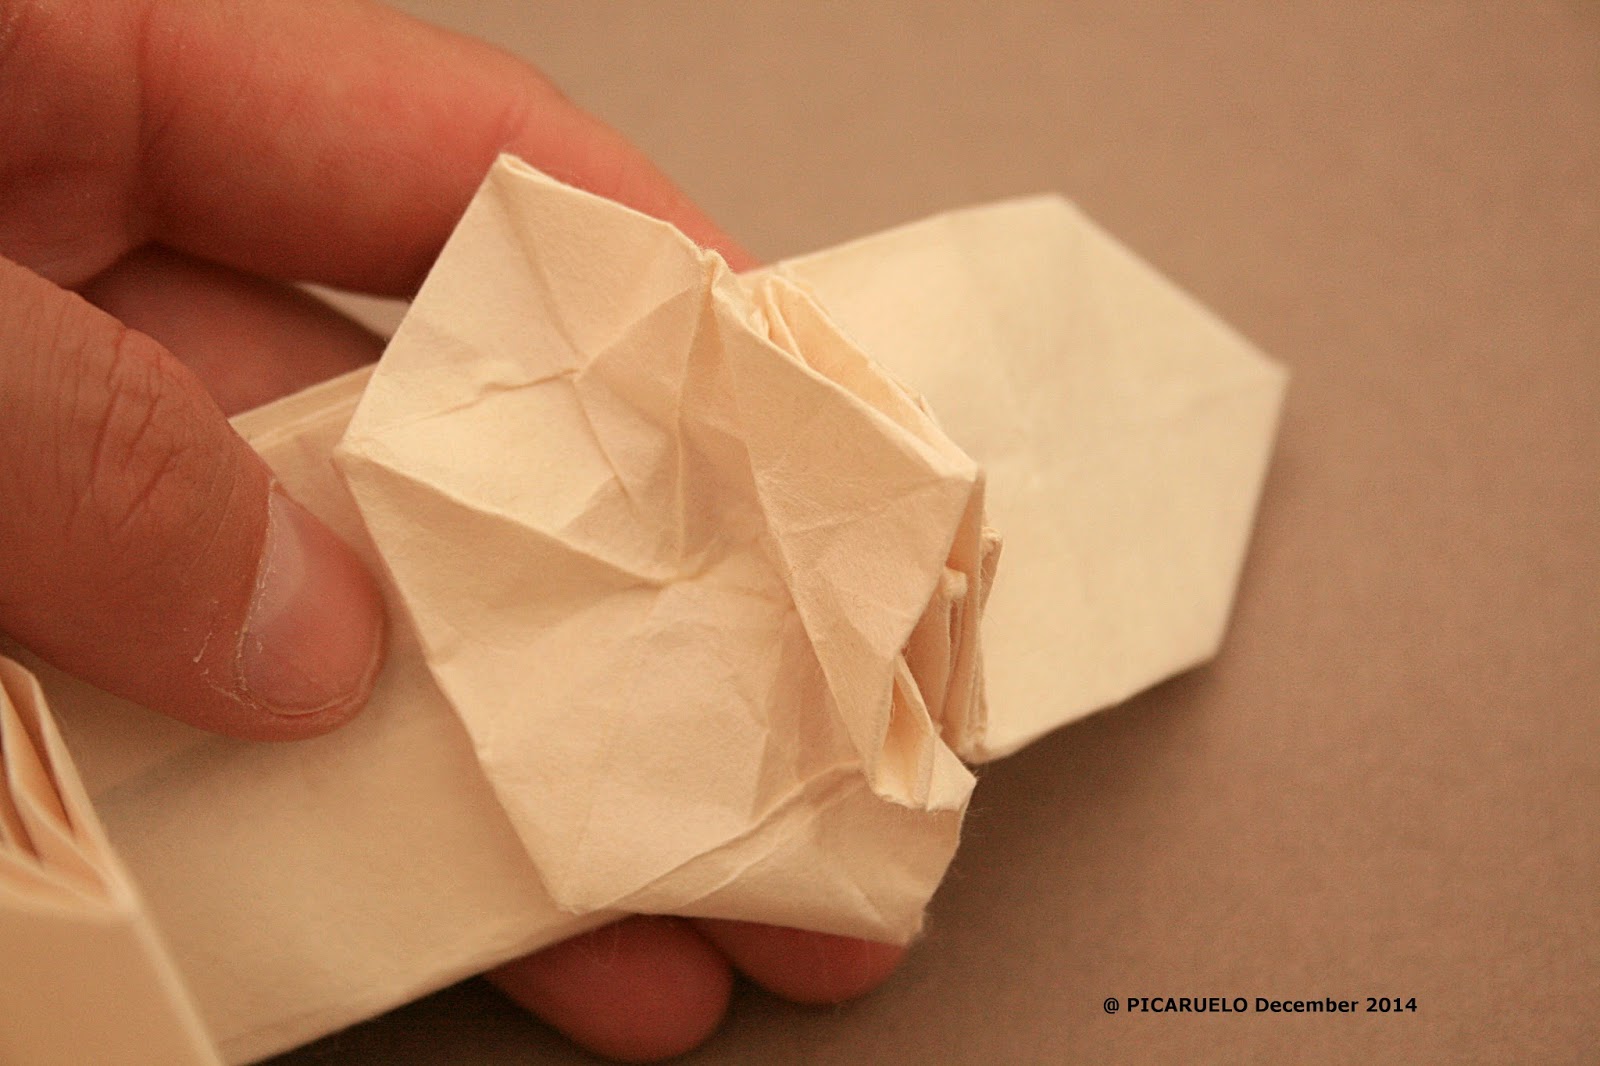
Closing the drum completely requires to introduce one of the sides of the body inside the other. It has to be done with care so that the model does not collapse.  

The other option, simpler, but non-orthodox is gluing it with carpenter glue.


The drumsticks are very simple. In the following pic I include a simple diagram on how to fold them. It is just one fold and some rolling:


My drum's design does not include the edge that appears in Joisel's model. It is nothing more than adding a little stripe of paper around each side of the body and following the same folding process.

I do not want to finish without doing same numbers to calculate the shape and size of the drum so that selecting its height or diameter we can calculate the other dimension.


The equation (1) shows the relation between the side L of the square, the radius R of the circle and the height h of the cylinder. By knowing one we can calculate the other. This equation gives us the maximum diameter or height from a known height or diameter. If we do not circumscribe the outer circle to the square we can get a smaller circle.  

In my case I have used a square with a side L=20cm, a known height h=4cm to obtain a diameter of the circle D=2R=4,3cm.

As you can also see in the drawing it is always verified that the length of the body is always longer than the length of the circle. It means that no matter the size of the circle, the body is always going to be long enough to cover it.

Sunday, 28 December 2014

THE DRUMMER

The drummer is the eighth member in my music band. With the experience I have been gaining during the past year I have dared to design my own model. Both, drum and dwarf (the upper part) are my own design. Evidently inspired by Joisel's work.

Here is my drummer:

A few months ago when I folded my flautist I challenged myself: designing a similar dwarf but with neck. As you can see in the following pic, in this model, the head comes directly from the body. It does not have neck at all:
With my drummer I have made a long necked dwarf and as an additional benefit, I have designed a face with a big moustache. The drawback is that I have lost the very long flap that is used to make the hat. I have replaced it with long hair that covers the top and back of the head.

The lower part of the model is the skirt with diamonds I have already used for other musicians (violinist and bass player). It would not be difficult to change the CP to use different costumes.

Let us take a look at the CP:
and let us compare it with, for example, the dwarf with diamonds' CP:
As you can see, the lower part of the model is exactly the same. It will form skirt and legs. However, the upper part is completely different. In the following drawing I have marked the different areas in the model:

In the centre area there are three red squares that will make chin, nose and eyes. In yellow there is one rectangle that will form the hair (much shorter than in the 'traditional' dwarf). All around the centre there is a pink 'river' that will form the neck. Finally, there are 6 green squares, three on each side of the face. The lower one on each side will form the moustache. The other four are unused. They could have been used to make ears.

Collapsing the face is trickier in this model than in the other dwarfs because the green squares get hidden into the red ones. Before collapsing the face for the first time I recommend you try it with a proof paper.

Let us see some pics of the collapsing process. For my model I have used a 60x60 cm Kozo paper. The final height of the dwarf is 22 cm:

Front view
Back view
Side view
And the face:

Detail of the face
You can see how the 'green' squares are hidden inside the 'red' ones. 

Detail of one of the 'green' squares
And now, let us see how to stretch the 'green' squares to make the moustache:


To model the eyes we squash the top flap in the face:

We stretch the upper flap to make the hair:


Closing the back of the model is similar to the procedure used with the other dwarves with diamonds:

We put one layer on one side on top of the layer of the opposite side

We put one triangle inside the triangle of the opposite side

The back once closed
After the basic modelling we come to this point:


Now we start the detailed modelling using methyl cellulose and carpenter glue:

Shaping the arms

Modelling completed
We finally come to the end model that I show from all perspectives:


In my next post I will talk about the drum, a very simple concept but hard to fold if you want to get a well shaped and closed cylinder.