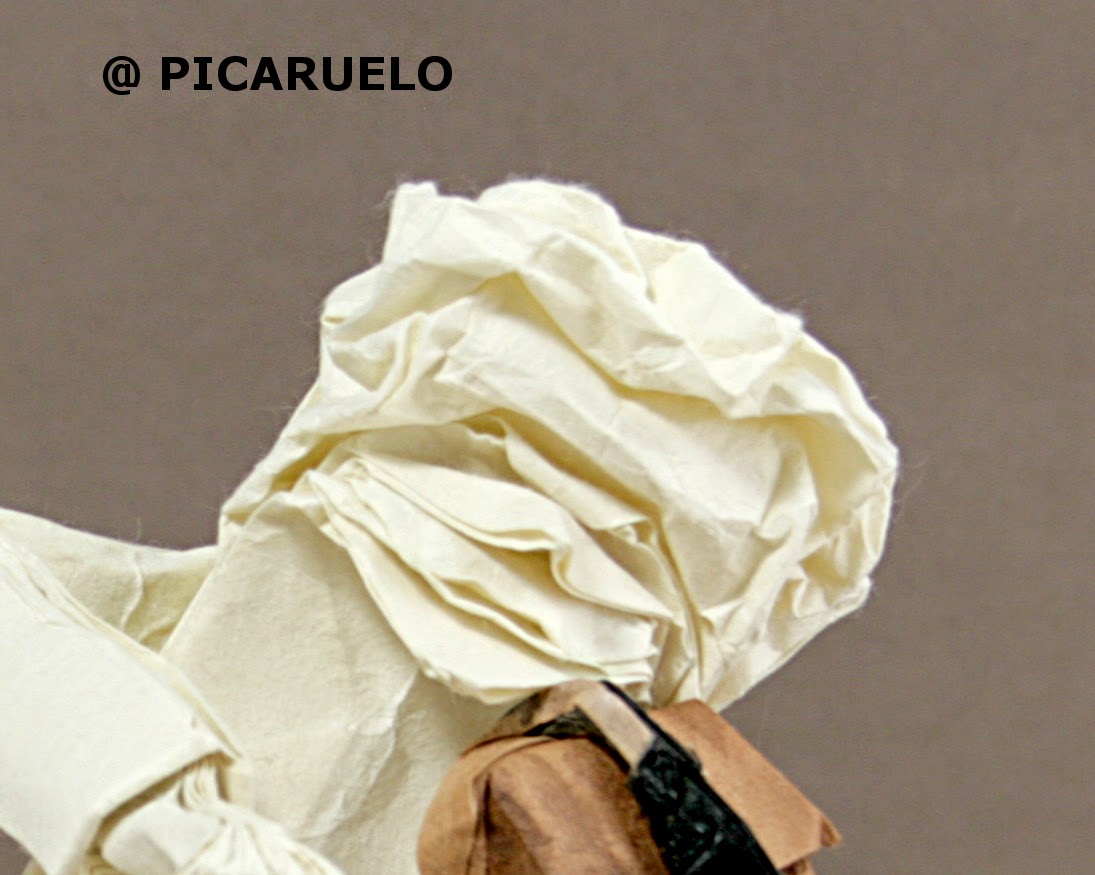
The last member of my music band is another woman, a harpist. For the first time I make a model sitting on a stool. This is the result:
The harpist is a woman with pigtail hair and a design similar to the trombonist but sitting down instead of standing. At the bottom I add two feet coming from below the skirt. This is the CP:
The harpist design comes from a 36x36 grid. The central upper part has three flaps, the hair in the middle and the pigtails on each side. They are edge flaps because I needed them to be thin and symmetric. This is what makes necessary to increase the size of the grid from 32x32 of the trombonist to 36x36 of the harpist. In the following drawing you can see the different parts of the CP highlighted with colours:
In red, the hair. The pigtails in yellow. In blue, the four flaps that make the face. Around the face, in green, a one division wide river. It separates the face from the rest of the head. It adds one division length to the hair and to the neck. In pink a two wide divisions river that crawls around the head to form the neck. In orange, a rectangle that forms the breast. At the bottom, two flaps, three divisions long, that form the feet.
Collapsing this model is easy and similar to the trombonist or the drummer. The challenge is modelling the skirt and placing the model in a natural sitting pose. Here are some pics of the process:
 |
| Harpist bottom after applying methyl cellulose and letting it dry |
The only advice I can give to model the skirt is to be patient and to use a lot of methyl cellulose. In the last photograph you can see a little trick I used to make rounded curves around the skirt and feet. I made little balls of paper dipped in methyl cellulose and placed them behind the skirt and inside the feet. I also used this trick to model the breast.
Let's go now to the stool . When I though about the harpist I didn't give much importance to the seat. When the time came to fold it I doubted between several models in the origami literature but none of them convinced me. So, I decided to make my own design: Surfing the web I found a very nice stool design:
 |
| 'Chipboard' stools by Dana Oxiles are an 'attempt to elevate a humble material so that it is read as a chair before being read as sustainable' ; photo by Armando Rafael |
It was elegant and easy to copy in origami. It didn't take me long to find a solution:
The hardest part of the model are the circular arches coming from the four corners on top of the stool. You have to be very careful to fold them precisely to obtain a good finish. Let us see some photographs I made with a proof model before folding the final stool.
We start with a square:
We fold the three parallel lines along both diagonals. In the centre we make a Kawasaki rose twist fold.
We make a template with the form of the circular creases:
We use the template to draw the circular folds on the back of the paper:
We precrease the circular creases and unfold:
We collapse the stool as if it were a rectangular prism. First we crease the top square and then close the four sides. In the following pic you can see one of the sides before closing it:
We close the sides hidding the extra paper at the bottom and then fold the circular creases. In the photograph you can see the clothes-pegs I used to hold the model until it got dry as I was wet folding the model:
The final stool:
By changing the size of the top square you can make it taller or shorter. In my final model I chose a tall one:
 |
| Bottom view of the model, in the centre you can see the Kawasaky rose twist |
The third part of this model was the instrument, the harp. I must confess that until I finished the model I didn't trust to have a nice result. That is one of the reasons for folding this musician the last. For me, a harp must have strings. The problem is that a harp with very thin strings from one sheet of paper is, I think, impossible to achieve. I opted by a modular approach. For the harp frame I would use the CP brilliantly deduced by
Ricardo Montecinos from Eric Joisel's original model and for the strings, very thing strips of paper.
Here is the harp CP:
Let us see some steps of the collapsing process on a proof model:
And here the final model I folded from a 50x4.17 cm kozo paper painted with brown water colour. You can also notice the thin strips of paper that will form the strings:
Finally, as a tribute to traditional origami I have added one 'pajarita'. In my last musician I added one crane as a tribute to the Oriental origami. Now in this musician I add a 'pajarita' as a tribute to the Western origami:
With the four models folded, musician, stool, harp and pajarita, we proceed with the final assembly. You can see the end result here:
And finally, with my eleven musicians completed I can proceed with the last part of my project: putting them together for the family photo.