New model and new problems waiting to be solved. The thing I enjoy the most about this project is that each model is a new challenge. Joisel's dwarves are so different that when you begin to fold one of them you can only guess what the end result will be. The only thing I had clear in my mind is that my next dwarf was going to be the saxophonist dressed on a tailcoat and a hat. He would also have a moustache. That way it would be completely different to my former two dwarves.
This is the result:
The CP to fold this gnome was deduced and released in his
web and
flickr page by Ricardo Montecinos. There are two different CPs:
Both of them are similar with the only difference that the second one gives a longer tail than the first one (4 divisions versus two). This length increase makes the grid bigger, 36x36 vs 32x32. In the next photograph you can see the area of the CP from which the tail comes. The smaller circle indicates the point of the tail.

In my case I have chosen the second CP because I wanted the tail of the tailcoat to be long. The problem with this election is that an increase in the grid decreases the model size. The kozo paper I use comes in 60 cm wide sheets (60x60 cm is the paper I have used in my former dwarves). My first dwarf, the clarinetist, is folded from a 60x60 cm square paper for a total height of 26 cm and it uses a grid of 28x28. That means that for a 36x36 grid I would need a 77x77 cm square paper if I wanted to have the same size.
Before taking a decision, I folded a proof model from a 50x50 cm foil paper and that made me chose a final square of 72x72 cm. The final size of the folded model would be between my clarinetist and my violinist. Under my point of view making this proof model was essential. It helped me not only to know the CP but also to learn how to model the tailcoat, face, arms and hat. In order to make the final square I had to glue a stripe of paper to the bottom of the 60 cm wide sheet. That way the join would become part of the upper part of the legs and it would be invisible.
One last thing about the CP. In the next photo, in the top right corner you can see Joisel's CP. The blue lines highlight the area that forms the coat and body. I have drawn that same pattern on the dwarf with tailcoat (also in blue). Once I finish the collapsing I will unfold part of the model to create the pattern highlighted in blue. That way I will have a coat very similar to Joisel's one but with two tails.

The final CP I will use will be the one with the 36x36 grid but changing the head pattern with Joisel's one as I did in my previous violinist dwarf:
 |
| The precreasing. The seventh division starting from the bottom, with a lighter colour, is the place where I joined the two pieces of paper. |
 |
I start folding arms, hat, tails and legs
|
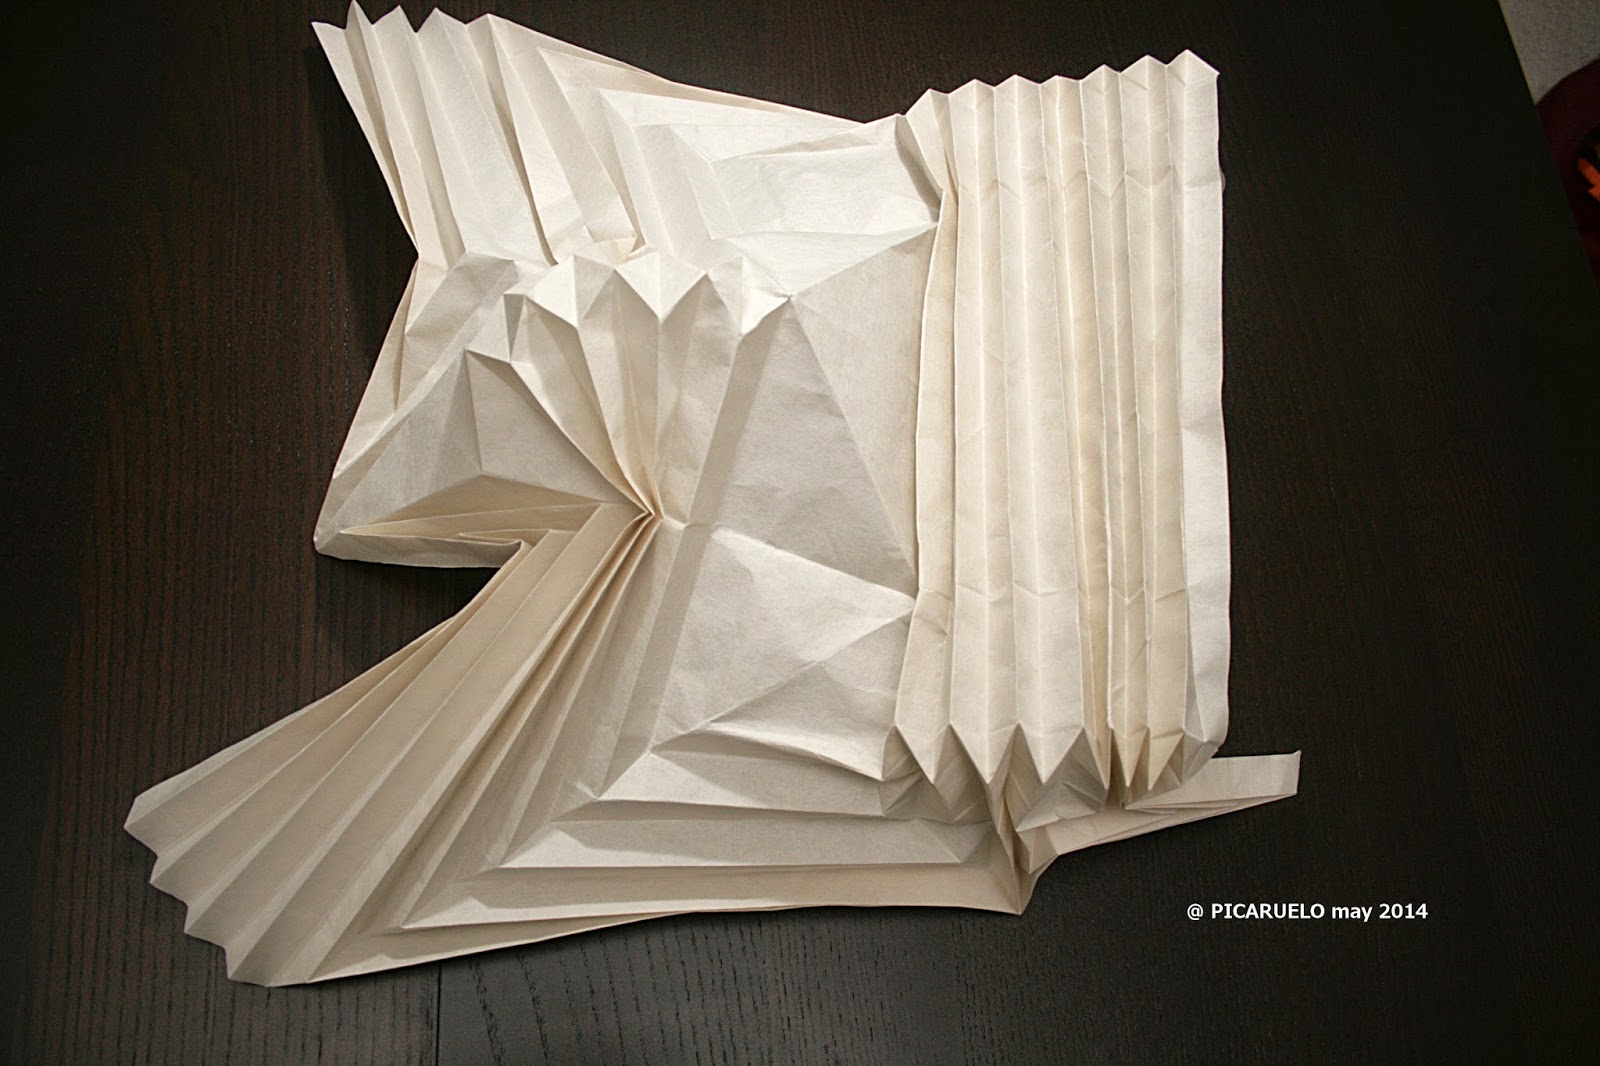 |
I continue with the diamonds that make up the face raising the arms at the same time
|
 |
I close hat and face and make the central triangle.
|
 |
Detail of one leg and tail
|
 |
Detail of one leg and tail from other side
|
 |
Front view of the collapsed model
|
 |
Back view of the collapsed model
|
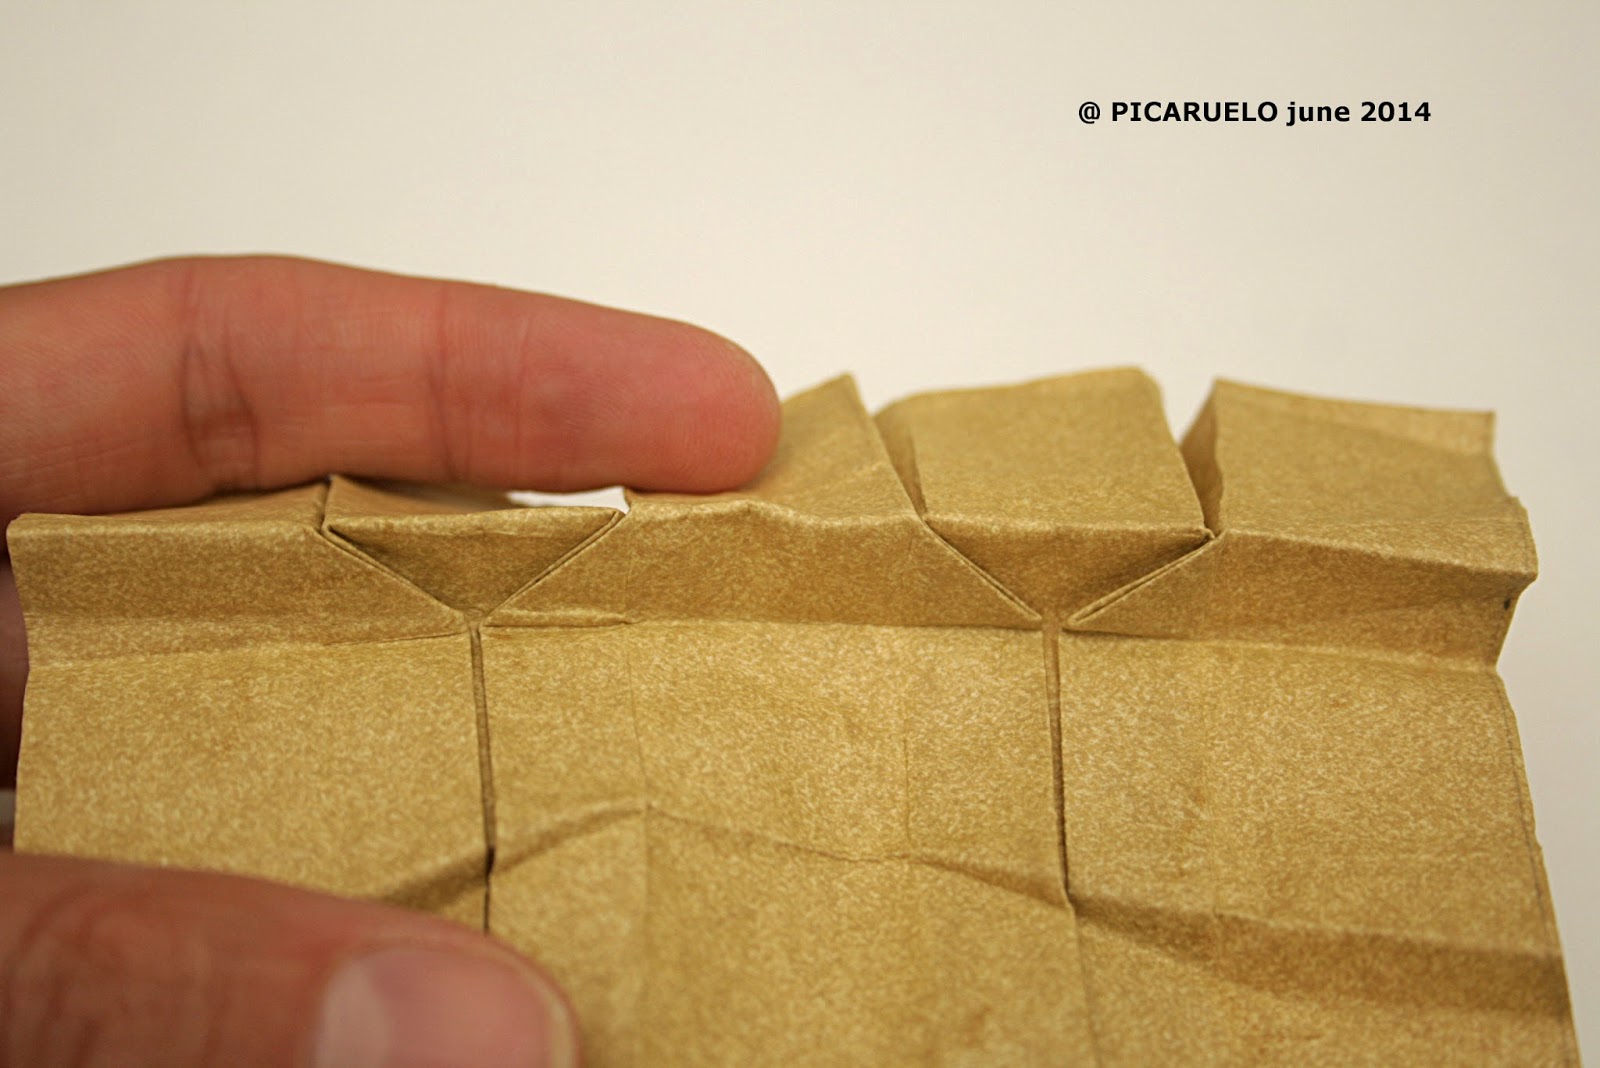
The collapsed model does not close perfectly, in fact, the legs are not aligned to the central axe of the model. I will fix it later. Now I am going to release the central diamond as I explained before.
 |
I begin unfolding the bottom of the triangle
|
 |
After the unfolding, in order to be able to collapse the model again you have to use the creases I painted in blue before
|
 |
We play a little bit more with the paper to be able to hide the leg inside the coat and to make it perfectly flat.
|
 |
Finally I get the tail and leg in the right position.
|
Maybe the steps I have shown are not very clear but the important thing is that you should play with the paper until you get something that you like. Before this photograph, I made three variations with the proof model and any of them could have been right. Joisel's dwarves are so variable that in the end any modification can be a success. I encourage all of you that try to fold this model to explore and play with the paper to discover new variations and, why not? publish them on the Internet to enrich Joisel's legacy.
 |
| Front view |
 |
| Back view |
 |
Detail of the leg and how it is folded inside the coat
|
And now it is time to play with the arms. This variation was suggested to me by Ricardo Montecinos and lets you widen the arms. Now the arms are one division wide and we want to double them and, as an added benefit, shorten them.
 |
I open the arm releasing one division on each side
|
 |
Four fingers go to one side and one finger to the other
|
 |
I fold the arm down and up
|
 |
I close the arm. You can also see how I have released some paper on each side of the back to close the model
|
 |
Final base
|
Once I have the final base I begin with the modelling. Here are some photos:
 |
| Closing the tailcoat |
 |
| Making the eyes |
 |
| Closing the hat |
And at last the final model. Here you have photos from the four sides:
The instrument is a saxophone designed by me, painted with deep gold acrylic. I will talk about it in my next post.