This post could well have been titled '
The Pied Piper of Hamelin' because the end result of my next musician reminds me of that personage. The idea came to my mind step by step as I folded the complete model. First the musician, then the instrument, a transverse flute silver coloured with little contrast and finally the rat to give it more colour and to emulate the Hamelin tale. Let us see the whole story:
After the first three musicians I wanted to fold something different. For a long time I had been thinking about folding one of the Joisel's long and thin musicians. It was going to be different to the other dwarves but if I folded it with the right proportions I thought I could mix them. The photograph that inspired me can be found in Joisel's
web page:

The models are taller and thinner than the dwarves in the Jazz Band but they have the same structure. There is one thing that caught my attention. It is the neck that some of the models show. I have not found a solution to this problem yet. Until now, none of the musicians I have folded has a proper neck.
After long hours of investigation, documentation, folding and modelling I came up with my fourth musician: THE FLAUTIST. He is accompanied by a rat, of course a Joisel's rat, that stands hypnotised by the music as if in the tale 'The Pied Piper of Hamelin'.
As always, the first step is getting a good design. I was lucky and I found a CP by Edwin Claudio from the
Sociedad Boliviana de Origami (Origami Bolivian Society). The origami coming from Bolivia is astonishing.
The CP has the same structure as the 'tradicional' Joisel's dwarf but coming from a rectangle instead of a square. The grid is 40x32. The result is a very harmonious and stylised model with very long and thin legs. In my case I used a Kozo rectangle of 40x32 cm, 1cm per division. The end height of the model is 23,5 cm. As in the dwarves the arms come out from behind the head. There is a little trick that helps to lengthen the arms and makes them begin from a lower position. We'll see it later.
After seeing this CP you can think about some obvious variations. You can modify it to fold the Jobit with diamonds, skirt or the Jobit dressed on a tailcoat. I may try them in future musicians.
Let us see the collapsing process:
 |
| Precreased CP. The folds at the lower part of the body are very slightly creased. It is better to make them later once the model is almost totally collapsed. Depending on how you close the body, they can be in a slightly different position |
 |
| I start the collapsing process with the legs |
 |
| Then I close the upper part |
 |
| And I end closing the lower part of the coat/body You can see how the arms come out from behind the head. |
 |
| The final base, front view |
 |
| Back view |
Depending on how we have collapsed the bottom of the coat we can have more or less excess paper. We hide it inside the body using a squash fold trying to make the legs as long as possible.
 |
| The lower part of the body before hiding it with a squash fold |
 |
| Once hidden, the legs are much longer |
From this stage the folding process is very similar to the 'tradicional' dwarf's one.
 |
| We fold the legs to hide them behind the body |
 |
| The legs coming out from inside the body. |
 |
| Back view. Now we only have to close the model using the extra paper in the two sides of the back and hiding one of them inside the pocket formed by the other one as in the 'tradicional' dwarf. |
 |
| Back view once the model is closed |
 |
| Front view |
Finally, in order to get a more natural pose for the arms we pull them down while pushing back the hat. The drawback of this process is that we can not make the hat go straight up from the head as before. In my case it wasn't a problem because I wanted to make a cap. A long, pointed hat would have made the contrast with the other dwarves bigger than I pretended.
 |
| Lowering the hat while pulling down the arms |
After this step, the modelling process starts. You have to be careful reinforcing the legs (in my case with methylcellulose and carpenter glue). They are thin and may not hold the model if not properly treated.
We come up with the end model that I show from different sides:
The instrument, a transverse flute, is folded from a 74x12 rectangle. The CP was deduced and released by Ricardo Montecinos in his
web page.
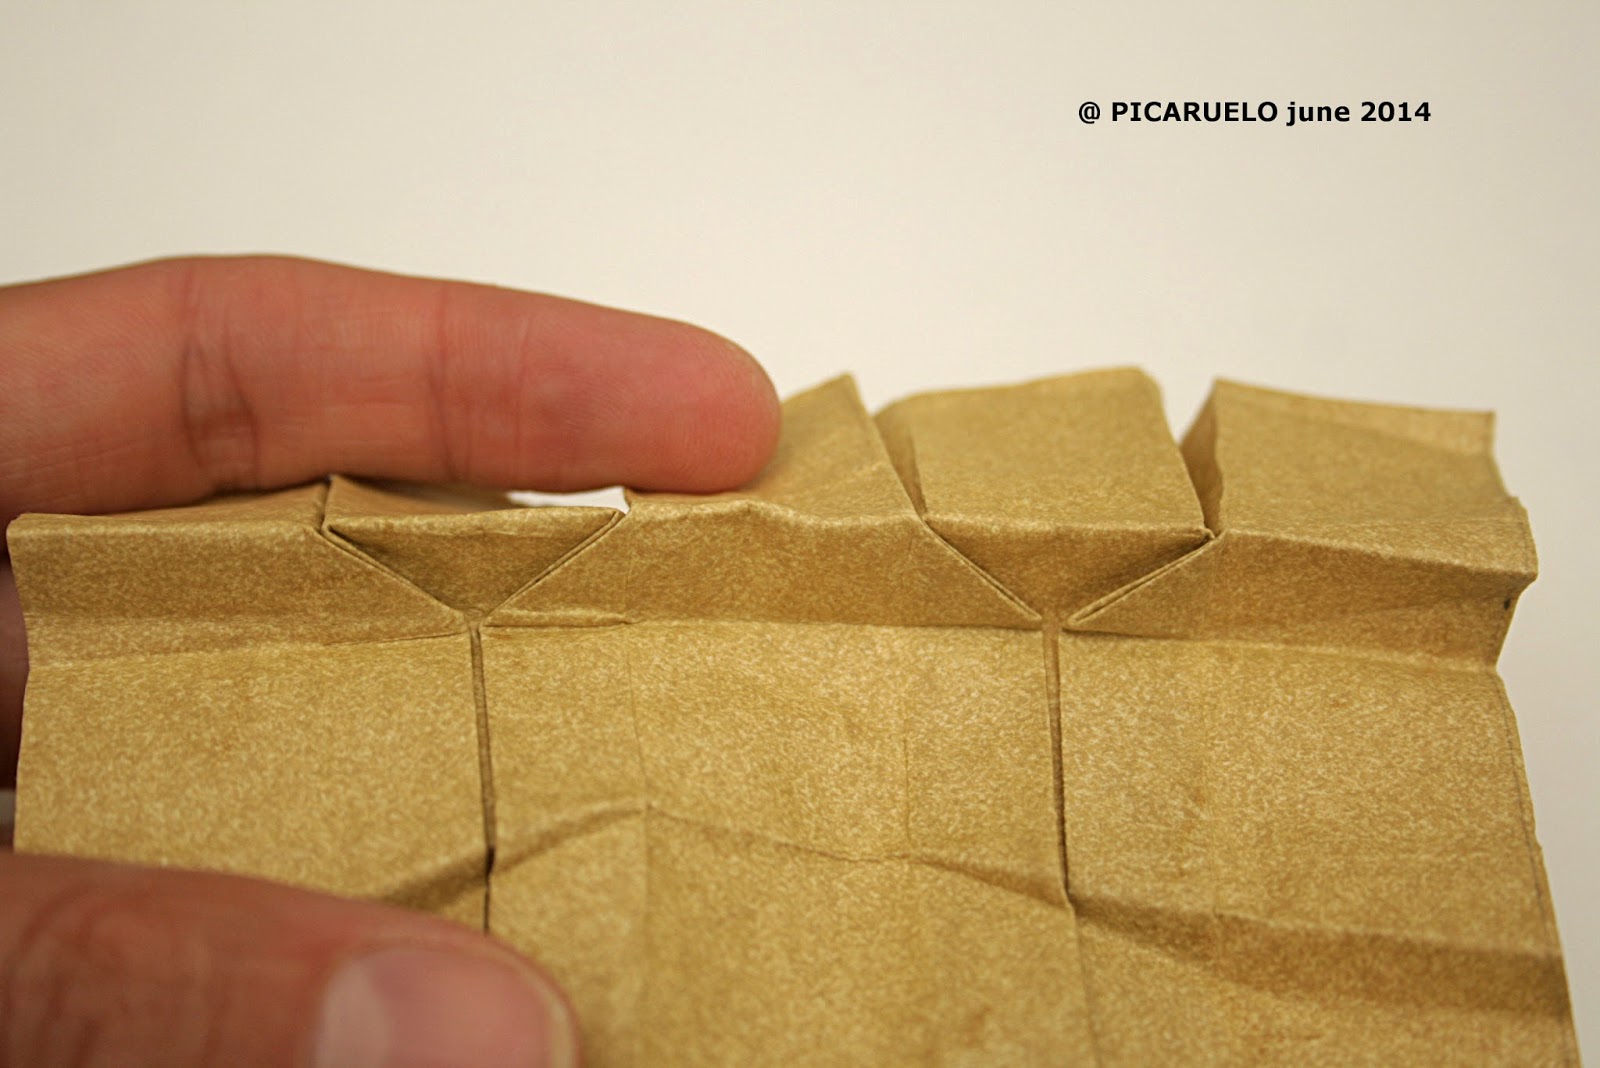
Now you can see some pics on how to collapse the keys (a total of nine) and the mouthpiece.
 |
| The draft I made to calculate the position of each line of the CP |
 |
| Collapsing one key |
 |
| A view of two keys nearly collapsed |
 |
| Collapsing the mouthpiece |
 |
| The collapsed mouthpiece |
 |
| Final collapsed model, the mouthpiece on the left and two keys on the right |
 |
| Back view |
This simple test fold let me learn how the CP worked and I could start the definitive flute. It is folded from a 23.9 x 3.9 cm kozo paper rectangle painted with silver acrylic. Once you fold the keys and mouthpiece you only have to form a cylinder with the remaining paper and close both ends with some paper. This is the end result:
And finally, some words about one of the best origami designs ever, at least in my humble opinion, Joisel's rat. It was designed by Eric Joisel in 1996 and has been published in many books and magazines, for example in the great book '
Eric Joisel - The Magician of Origami'.
Here is a close up pic of the rat: